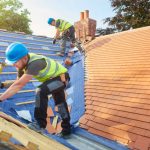
What to look for when choosing a roofing contractor
March 13, 2024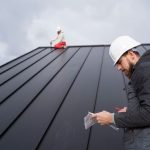
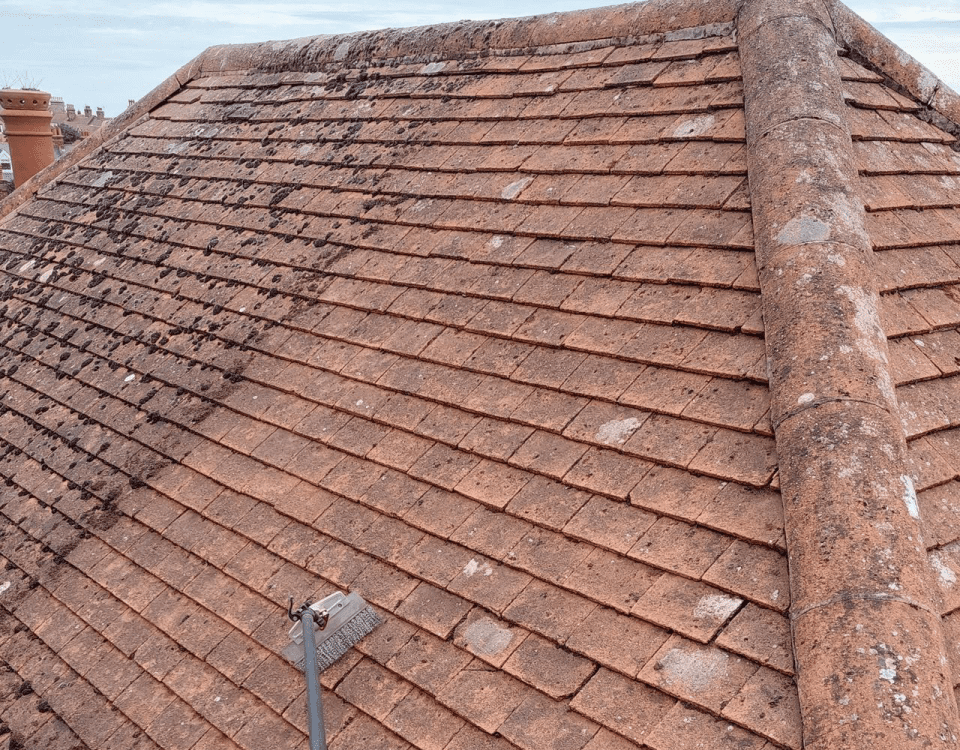
Roofing Services: Protecting Your Home from the Elements
March 14, 2024
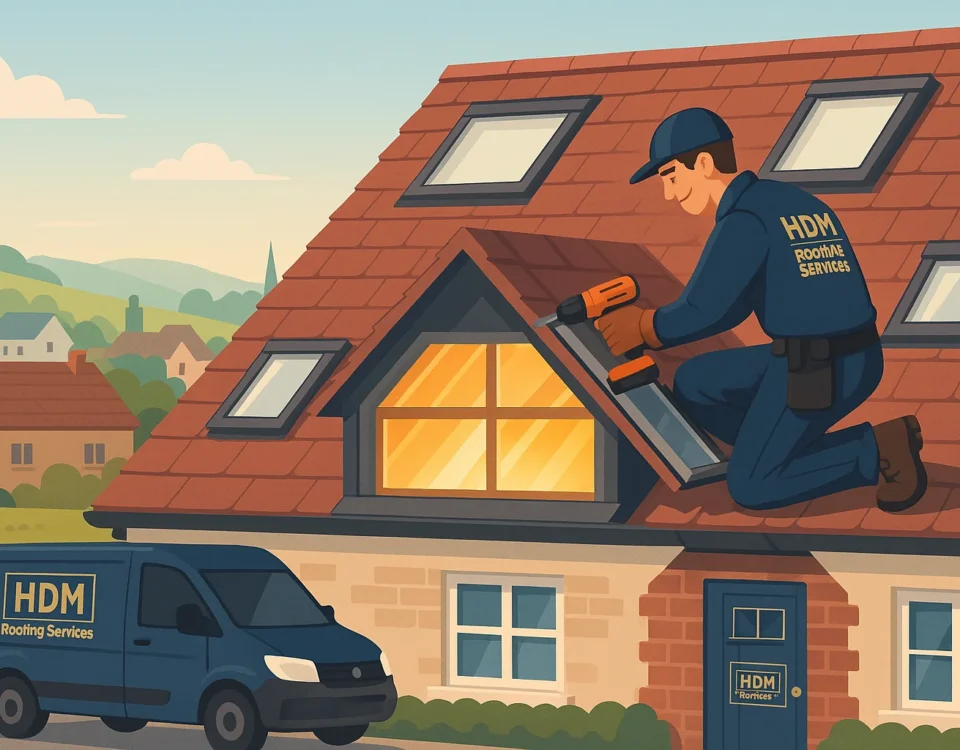
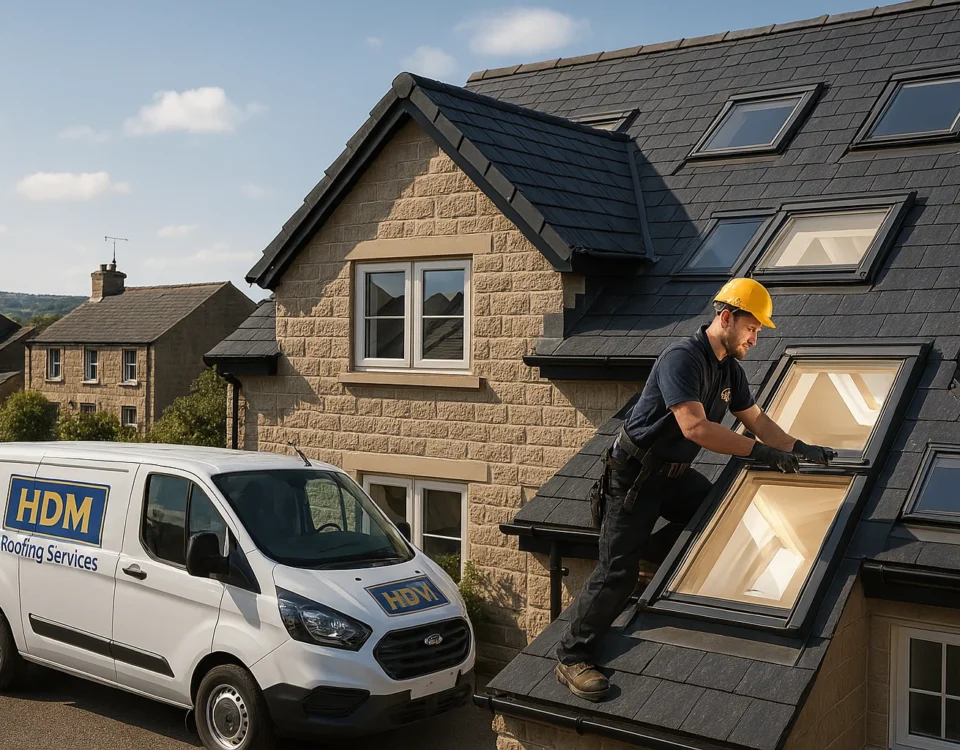
Looking to install a fibreglass roof? Look no further – this comprehensive guide will take you step by step through the entire process. With detailed instructions and expert tips, you’ll have all the knowledge you need to confidently tackle this project.
Advantages of Fibreglass Roofing
Fibreglass roofs, also known as GRP (glass-reinforced plastic) roofs, have gained popularity among homeowners for their durability, longevity, and aesthetic appeal. Unlike traditional roofing materials, fibreglass roofs offer several advantages that make them a preferred choice for many.
Firstly, fibreglass roofs are incredibly strong and resistant to external elements such as UV rays, extreme temperatures, and heavy rainfall. This durability ensures that your roof will remain intact for years to come, requiring minimal maintenance.
Additionally, fibreglass roofs are highly waterproof, providing a seamless and watertight barrier that protects your home from leaks and water damage. This eliminates the need for regular repairs and prevents costly issues in the future.
Furthermore, fibreglass roofs are lightweight, making them easier to handle during installation. Their flexibility allows for a seamless application, ensuring a smooth and visually appealing finish. With a wide range of colours and finishes available, fibreglass roofs can be customized to complement any architectural style, enhancing the overall aesthetics of your home.
Preparing the Roof for Installation
Before installing a fibreglass roof, it is crucial to properly prepare the existing surface. This ensures proper adhesion and helps to create a strong foundation for the fibreglass roofing system.
Start by thoroughly cleaning the roof surface, removing any dirt, debris, or loose materials. This can be done using a high-pressure washer or a stiff brush and a suitable cleaning solution. Ensure that the surface is completely dry before proceeding.
Next, inspect the roof for any signs of damage, such as cracks or holes. These should be repaired using a suitable roof repair compound or filler. It is essential to address these issues before the fibreglass installation to prevent water penetration and potential leaks.
After repairs have been made, it is recommended to apply a primer to the roof surface. The primer promotes adhesion between the existing surface and the fibreglass roofing system, ensuring a secure and long-lasting bond. Follow the manufacturer’s instructions for the specific primer being used.
Gathering the Necessary Tools and Materials
To install a fibreglass roof, you’ll need a range of tools and materials. Here’s a comprehensive list to help you gather everything you need:
- Fibreglass matting or cloth: This is the main component of the fibreglass roofing system, providing strength and reinforcement.
- Resin: The resin acts as a bonding agent, securing the fibreglass matting to the roof surface.
- Catalyst: This is a hardening agent that is mixed with the resin to initiate the curing process.
- Roller: A roller is used to evenly distribute the resin and eliminate any air bubbles in the fibreglass matting.
- Brush: A brush is useful for applying resin to hard-to-reach areas or edges.
- Scissors or utility knife: These are used to cut the fibreglass matting to the required size.
- Mixing container and paddle: These are necessary for mixing the resin and catalyst thoroughly.
- Safety equipment: Don’t forget to wear gloves, goggles, and a mask to protect yourself during the installation process.
It is crucial to use high-quality materials to ensure the best results. Consult with your local supplier or manufacturer for recommendations on suitable brands and specifications.
Applying the Fibreglass Roofing System
Now that you have prepared the roof surface and gathered the necessary tools and materials, it’s time to start applying the fibreglass roofing system. Follow these steps for a successful installation:
- Prepare the resin mixture: In a clean mixing container, combine the resin and catalyst according to the manufacturer’s instructions. Mix thoroughly using a paddle until the two components are fully blended.
- Cut the fibreglass matting: Measure and cut the fibreglass matting to the required size. It should overlap the roof edges by a few inches to ensure complete coverage. Cut additional pieces if needed.
- Apply the resin: Using a roller or brush, apply a layer of resin to the roof surface. Make sure to work in small sections to prevent the resin from drying too quickly. Aim for an even and consistent coating.
- Lay the fibreglass matting: Carefully place the cut fibreglass matting onto the wet resin, ensuring it is fully saturated. Use the roller to press the matting into the resin and remove any air bubbles. Continue this process, overlapping the matting as necessary, until the entire roof surface is covered.
- Apply additional layers: Repeat the resin application and fibreglass matting process to create multiple layers. This will provide the necessary reinforcement and strength for your fibreglass roof. Follow the manufacturer’s recommendations for the number of layers required.
- Smooth out the surface: Once all the layers have been applied, use a roller to smooth out the surface and remove any excess resin or air bubbles. This will result in a seamless and visually appealing finish.
Ensuring Proper Adhesion and Reinforcement
To ensure the longevity and effectiveness of your fibreglass roof, it is essential to pay attention to proper adhesion and reinforcement techniques. Here are a few tips to ensure a strong and durable installation:
- Work in suitable weather conditions: Fibreglass installation should be done in dry and moderate temperatures. Avoid extremely hot or cold weather, as it can affect the curing process and adhesion of the fibreglass roofing system.
- Apply sufficient resin: Make sure to apply enough resin to fully saturate the fibreglass matting. Insufficient resin can result in weak adhesion and reduced durability.
- Eliminate air bubbles: Use a roller to remove any air bubbles trapped between the layers of fibreglass matting. This will ensure a smooth and uniform surface.
- Reinforce critical areas: Pay extra attention to areas prone to water pooling, such as roof valleys or low points. Apply additional layers of fibreglass matting to reinforce these areas and prevent water penetration.
- Allow proper curing time: Follow the manufacturer’s instructions for the recommended curing time. Avoid walking on or applying any weight to the fibreglass roof until it has fully cured.
Adding Finishing Touches to the Fibreglass Roof
Once the fibreglass roofing system has cured and hardened, it’s time to add the finishing touches to your new roof. Here are a few steps to complete the installation and ensure a professional result:
- Trim the excess fibreglass: Use a utility knife or scissors to carefully trim any excess fibreglass matting that extends beyond the roof edges. This will create a neat and tidy appearance.
- Seal the edges: Apply a layer of resin along the roof edges to seal and protect the fibreglass matting. This will prevent water infiltration and enhance the overall durability of your roof.
- Install roof trims and flashings: Depending on your roof design, you may need to install trims and flashings to provide additional protection against water and enhance the aesthetics of your roof. Follow the manufacturer’s instructions for proper installation techniques.
- Clean up and inspect: Remove any debris or materials from the roof surface, ensuring a clean and polished finish. Inspect the entire roof for any imperfections or areas that require touch-ups.
Maintaining and Caring for a Fibreglass Roof
Congratulations on successfully installing your fibreglass roof! To ensure its longevity and performance, regular maintenance and care are essential. Here are a few tips to keep your fibreglass roof in optimal condition:
- Clean the roof regularly: Remove any debris, leaves, or dirt from the roof surface using a soft brush or a low-pressure water hose. Avoid using abrasive materials or high-pressure washers, as they can damage the fibreglass.
- Inspect for damage: Periodically check the roof for any signs of damage, such as cracks or punctures. Repair these issues promptly using suitable repair materials to prevent water infiltration and potential leaks.
- Avoid walking on the roof: Fibreglass roofs are not designed to withstand heavy foot traffic. Avoid walking or placing any heavy objects on the roof to prevent damage.
- Remove snow and ice: In areas with snowy or icy climates, it is important to remove snow buildup from the roof to prevent excessive weight and potential damage. Use a roof rake or a broom with a long handle to gently remove snow without scraping the fibreglass surface.
Common Pitfalls to Avoid During Installation
While installing a fibreglass roof can be a rewarding project, it is crucial to be aware of common pitfalls and mistakes that can affect the overall quality and performance of your roof. Here are a few things to avoid:
- Rushing the installation: Take your time and follow the instructions carefully. Rushing the installation can lead to mistakes and compromises in the overall quality of the fibreglass roofing system.
- Insufficient roof preparation: Properly preparing the roof surface is crucial for a successful fibreglass installation. Skipping or overlooking this step can result in poor adhesion and reduced durability.
- Inadequate resin application: Ensure that you apply enough resin to fully saturate the fibreglass matting. Insufficient resin can lead to weak adhesion and compromised waterproofing.
- Ignoring manufacturer’s instructions: Different fibreglass roofing systems may have specific requirements and techniques. Always refer to the manufacturer’s instructions for the best results.
- Neglecting safety precautions: Fibreglass installation involves working with chemicals and materials that can be harmful if not handled properly. Always wear appropriate safety equipment, such as gloves, goggles, and a mask, to protect yourself during the installation process.
Conclusion: Enjoy Your New Fibreglass Roof!
Installing a fibreglass roof is a worthwhile investment that offers numerous benefits, including durability, longevity, and aesthetic appeal. By following this comprehensive guide, you now have the knowledge and confidence to tackle this project with ease.
Remember to prepare the roof surface thoroughly, gather the necessary tools and materials, and follow the step-by-step instructions for applying the fibreglass roofing system. Pay attention to proper adhesion and reinforcement techniques to ensure a strong and durable installation.
Once your fibreglass roof is complete, don’t forget to perform regular maintenance and care to keep it in optimal condition. By avoiding common pitfalls and mistakes, you can enjoy the benefits of your new fibreglass roof for years to come.
So, grab your tools and get started on transforming your old, worn-out roof into a durable and attractive feature that will enhance your home for years to come. Enjoy your new fibreglass roof!